- Log in to your WebX Admin Panel dashboard.
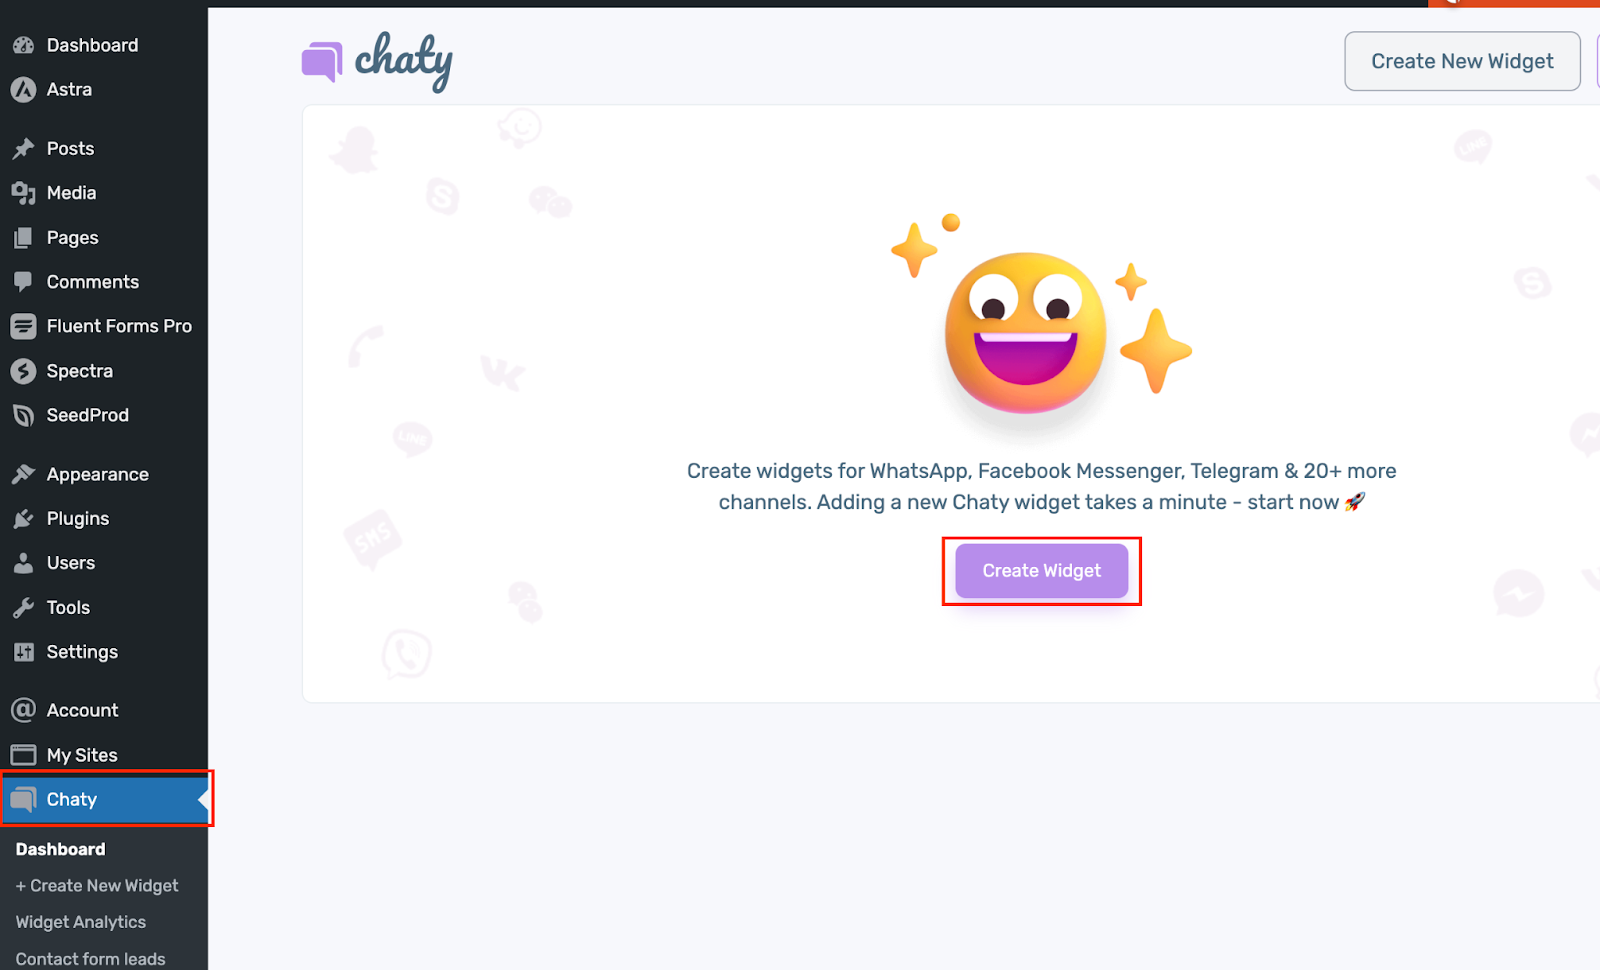
- Click on Chaty on the left panel menu.
- Click on Create Widget.
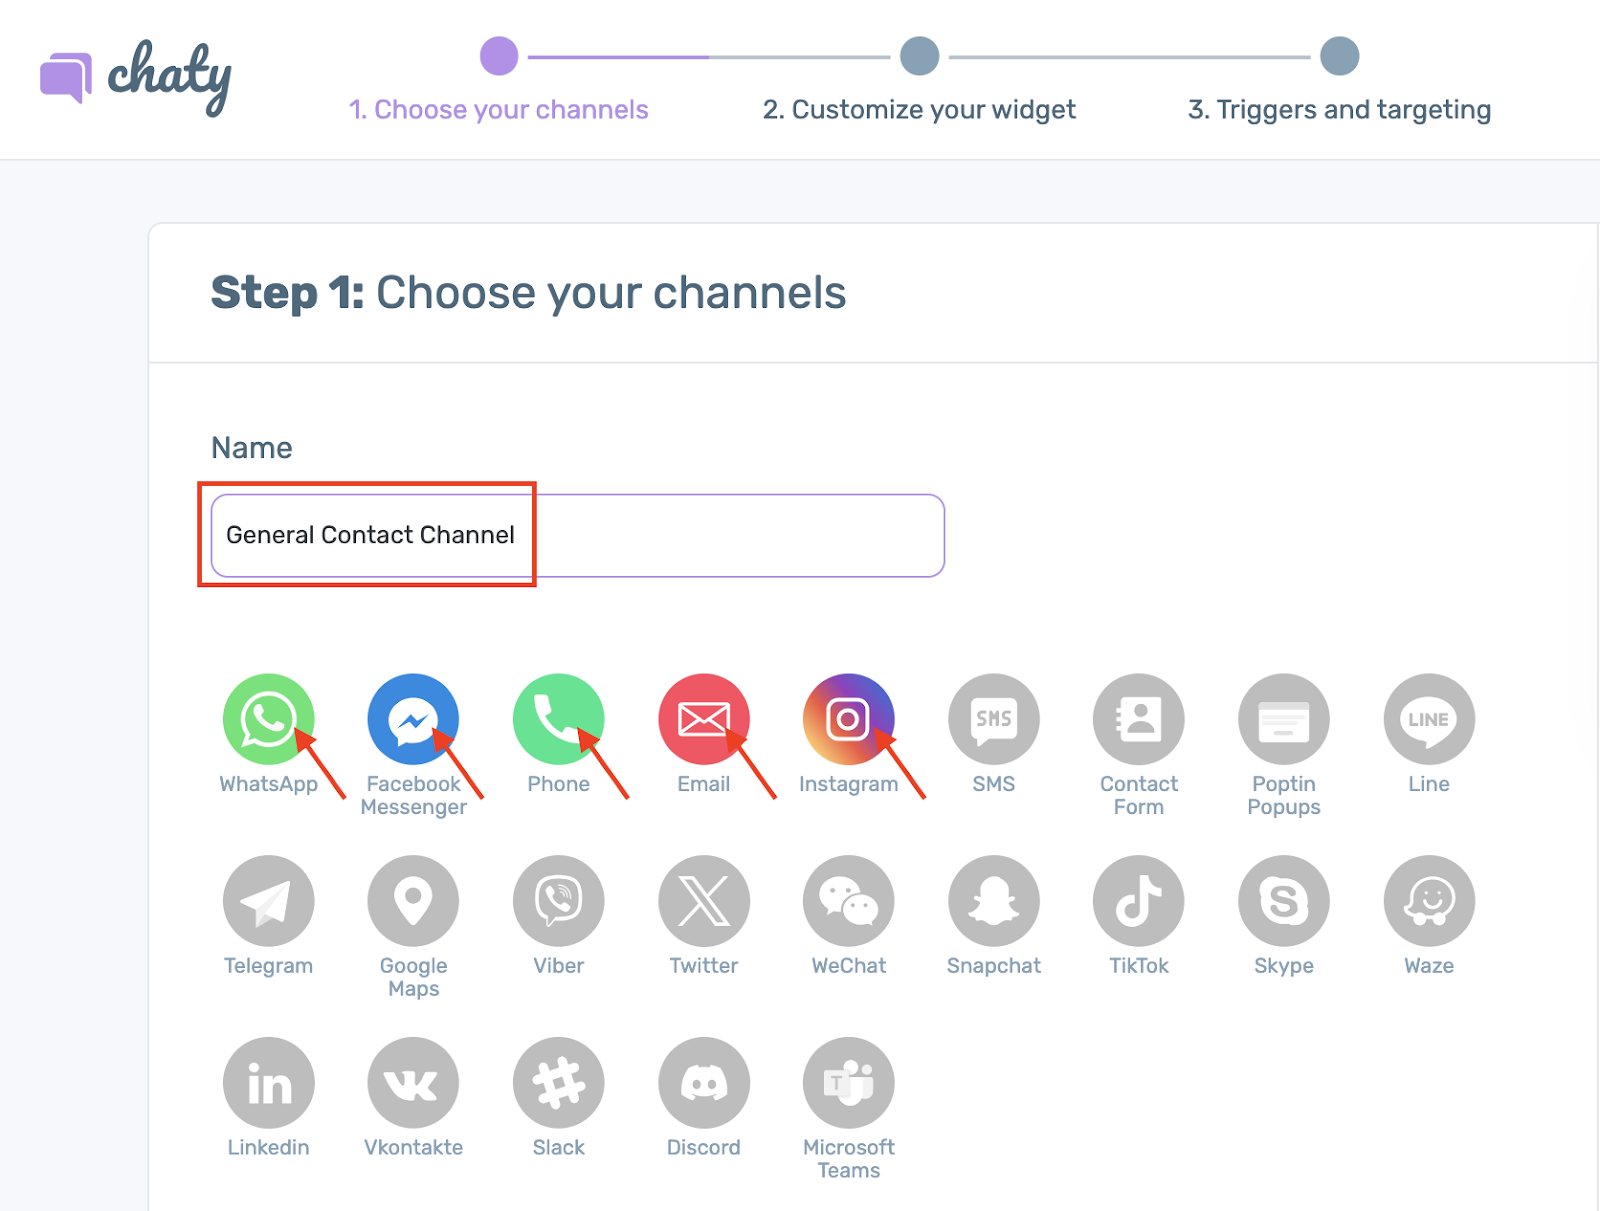
- Enter a name for the widget.
- Choose your channels e.g. Whatsapp, Phone, Email, Instagram, Facebook etc.
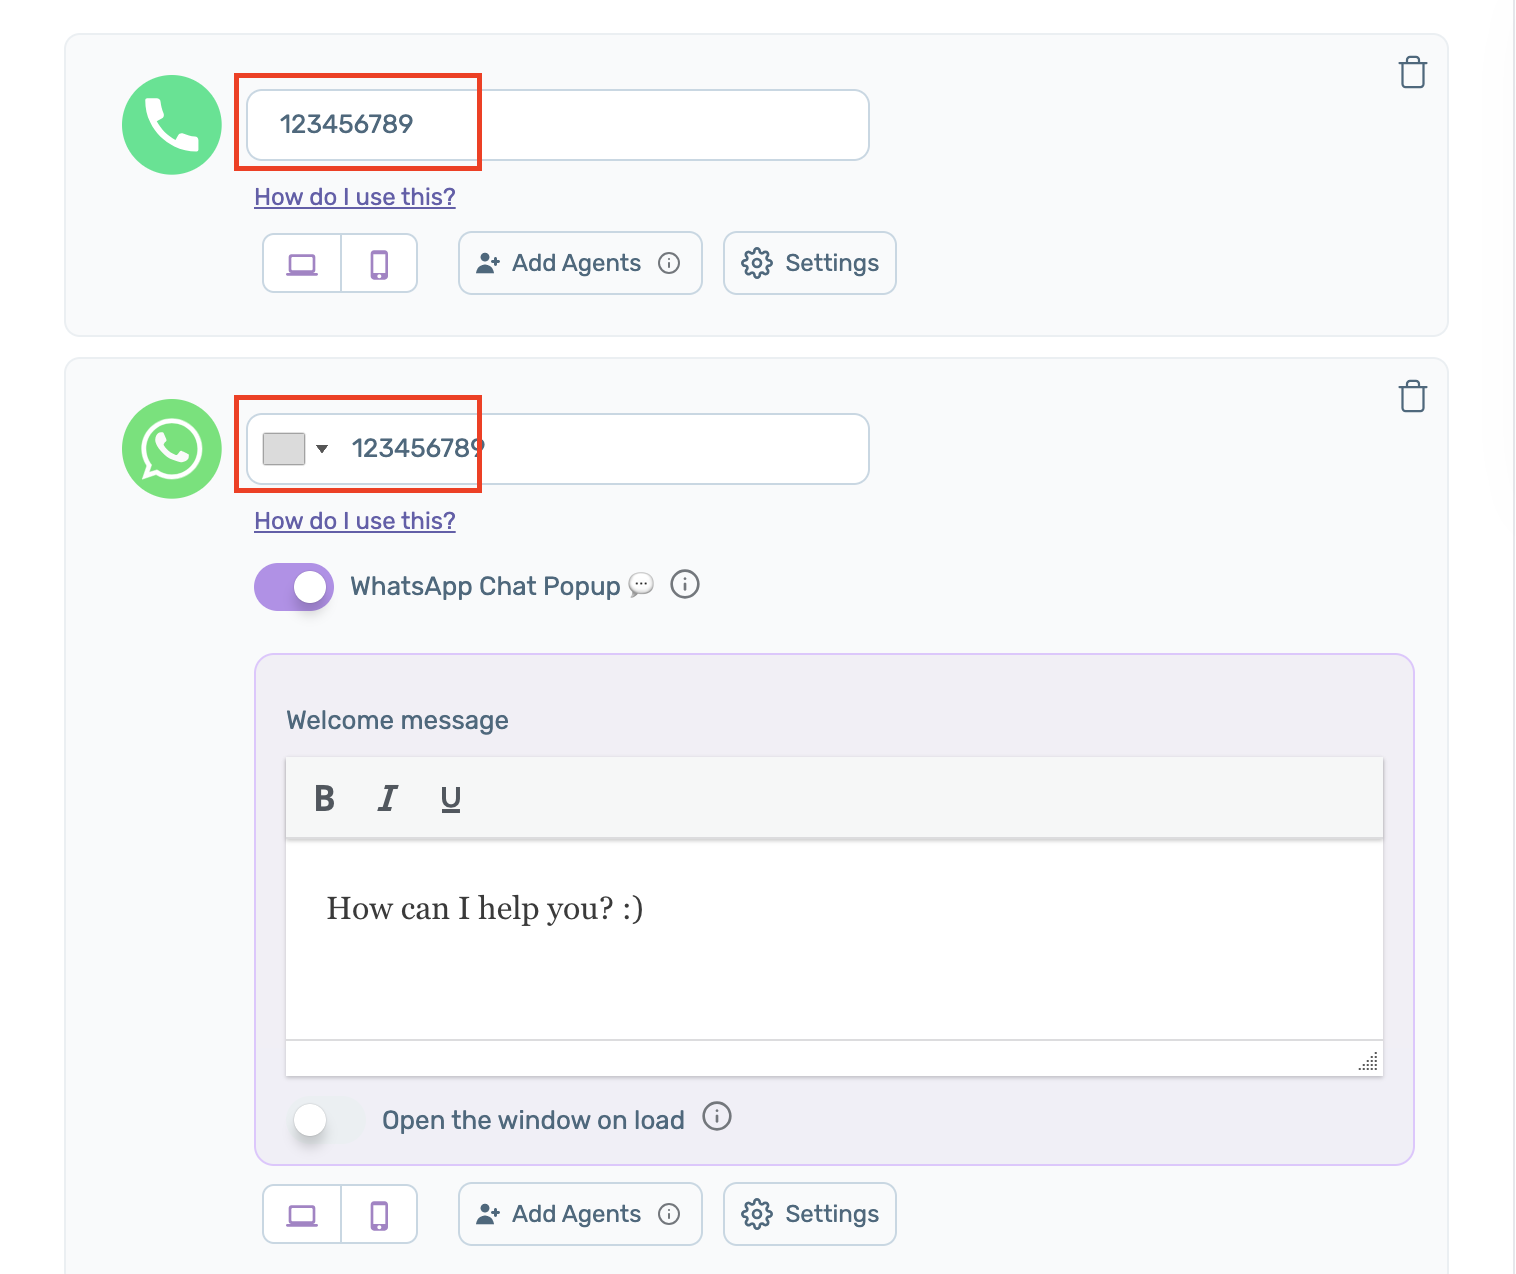
- Fill in all the relevant information based on the channels you have chosen.
- Click Next.

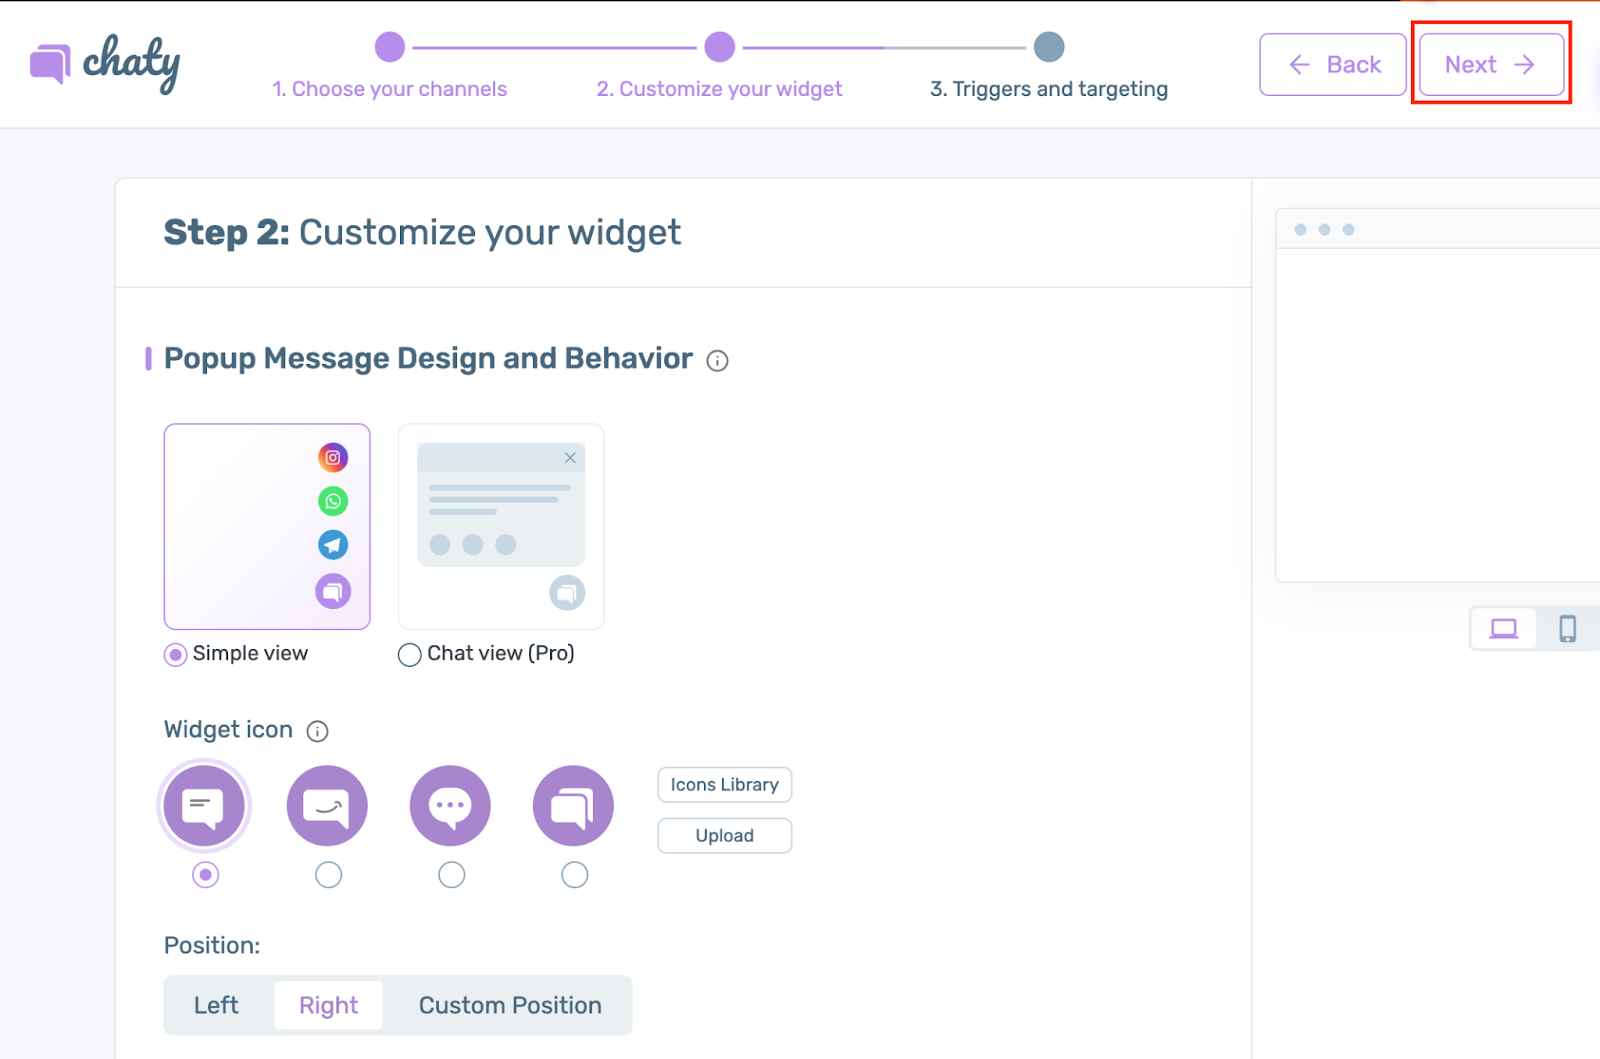
- You can Customize your widget if needed or use the defaults. Then, click Next.
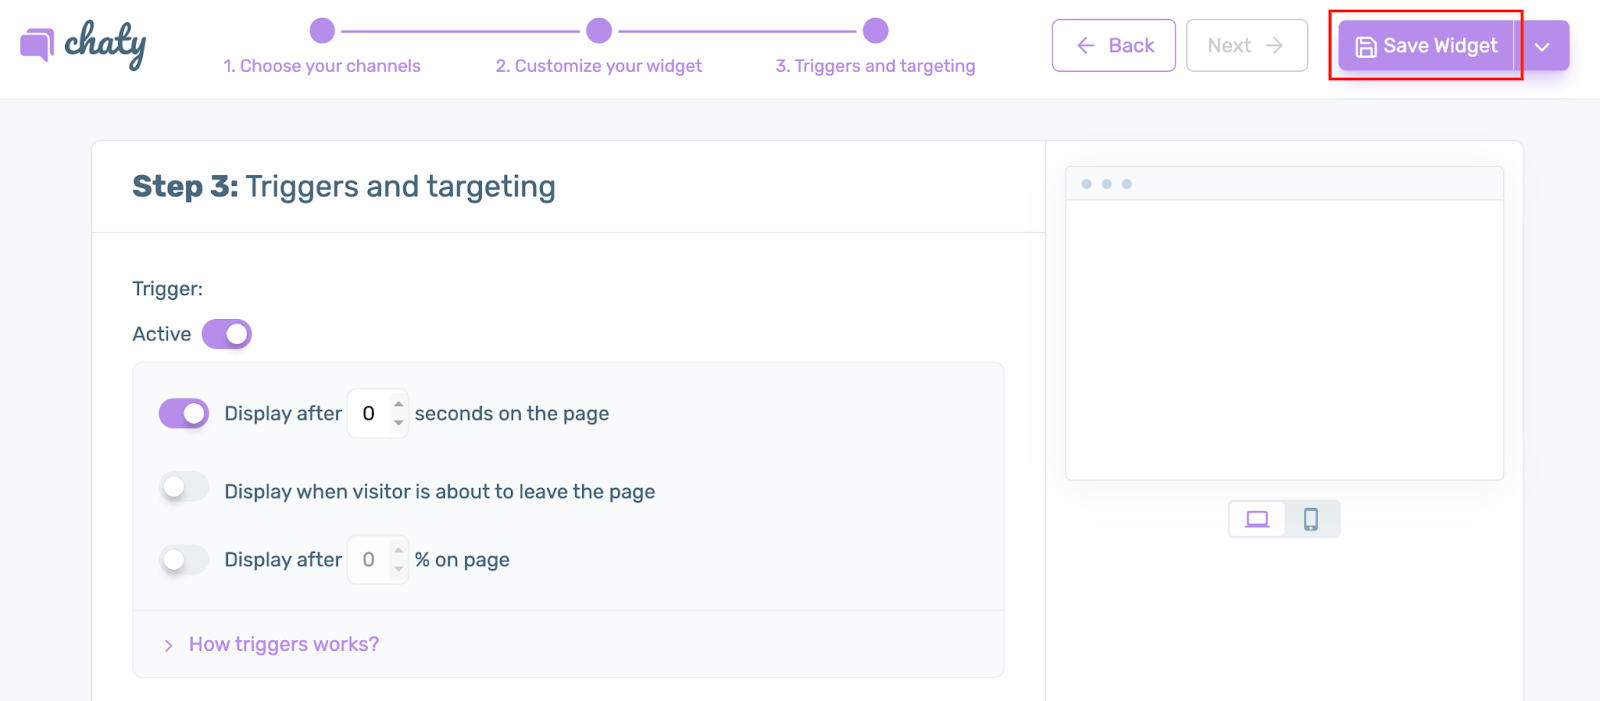
- You can then Edit Triggers and targeting setting of the widget.
- Once done, click on Save Widget.